

Since, Windows XP the Windows Media Centre has been one of the best media management suites available for Microsoft Windows.
Here's the steps to Install and Set up Media Center on Windows 8.
Step 1: You’ll receive your license key in email – copy it to an easy location.
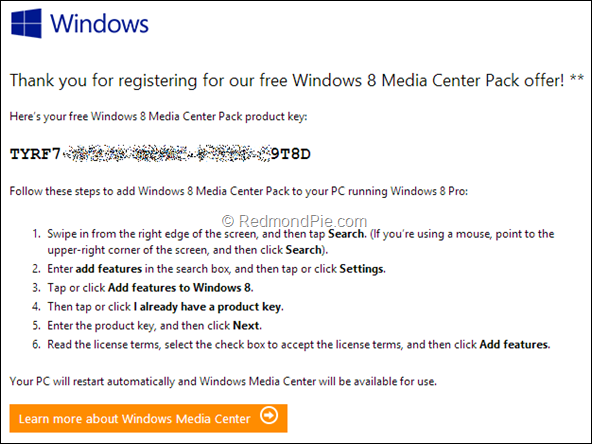
Step 2: On your PC, invoke the Charms bar using Win + C hotkey, or by dragging your mouse pointer to the upper right corner of the screen. Search for “add features”.

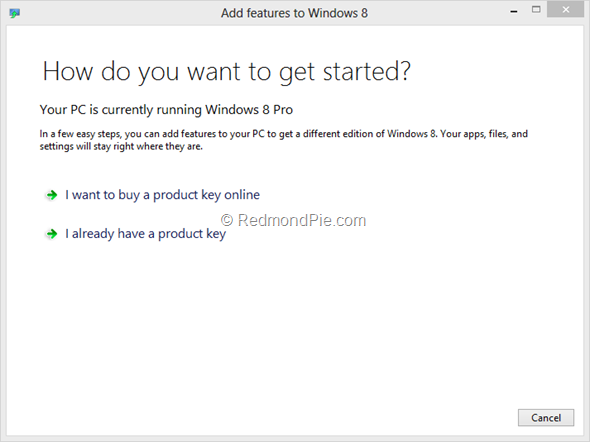
Step 3: In the search results, highlight Settings and click “Add features to Windows 8”. In the new dialog that launches, hit “I already have a product key”.
Step 4: Enter your product key in the space provided and let the verification process complete. Windows will begin downloading and installing Media Center automatically.
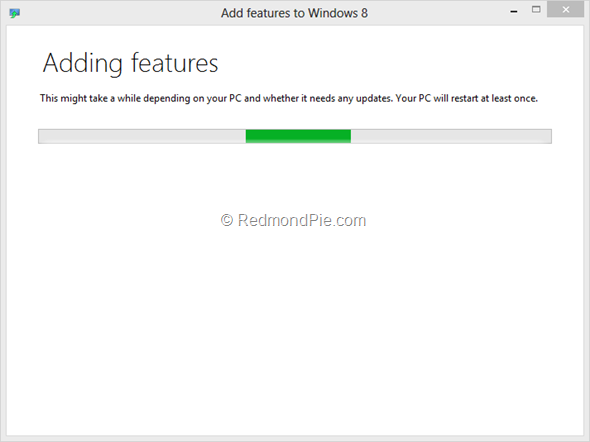
It’s noteworthy that you won’t see any progress bar for the download and installation, and the only notification that you’ll get is your system automatically restarting and configuring the update. Hence, if you have any unsaved work open before that, do save it.
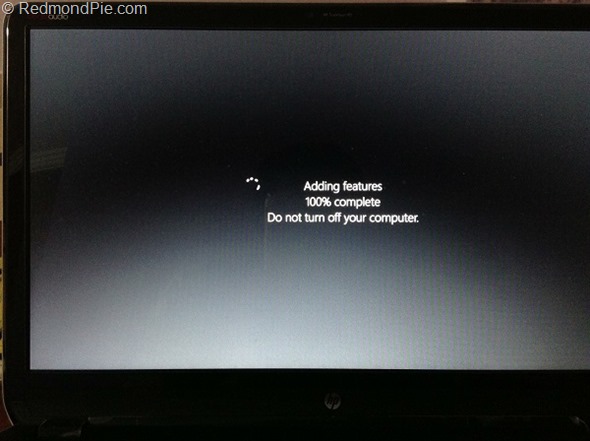
Step 5: Once the system reboot is complete, you can launch Media Center either from the Start Screen in Windows 8, or by searching for it.
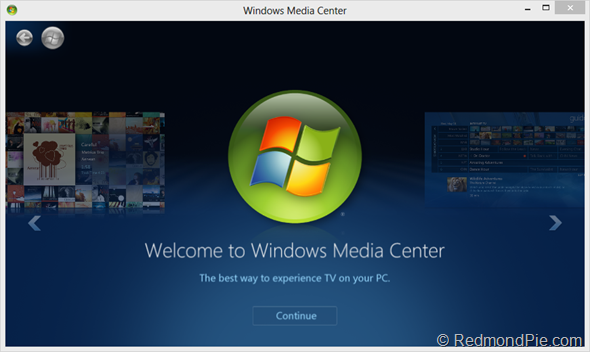
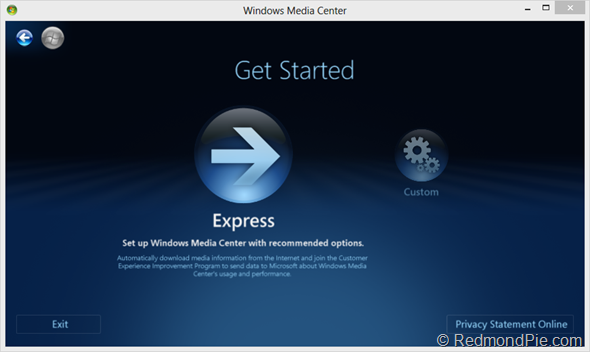
Step 6: In order to set up Media Center for first use, hit Continue on the first screen. Then, depending on your preference, choose either the Express setup or the custom one, the former of which is preferable if you want to go with default settings.
Once you’re done with the set up, all you’ll want to do is configure your media libraries, and you should be good to go.
That’s it – Windows 8 Pro with Media Center is ready to rock, and for free! Leave us a comment on Facebook on how your experience went with this.
VIA : REDMOND PIE
0 comments:
Post a Comment